Post 2 about my bike packing trip from Seattle to Minneapolis. My first post was mostly stories and photos from the 15-day, 2064-mile bike trip; today I want to share about the gear I used.
I’ve now logged over 12,000 miles of bike touring since 2001 and each trip is different in some way. I’ve used road bikes, touring bikes, mountain bikes; ridden off-road, on-road, in other countries; I’ve camped with a tent, without a tent, etc. But for every trip there are constants: you need to sleep, you need to eat, you need to be protected from the elements and you need to somehow carry your gear on your bike. I call these ‘systems’. For example, riding SF to LA in 3 days I decided against carrying a cooking system and relied on snacks and burritos along the way. But for longer trips I want the option of cooking my own meals and making my own coffee when I wake up. Now what I’ve learned is you can have these comforts without carrying 40 pounds of gear. Below are the details for what I carried for a 15-day, 2000-mile trip.
Sleeping System
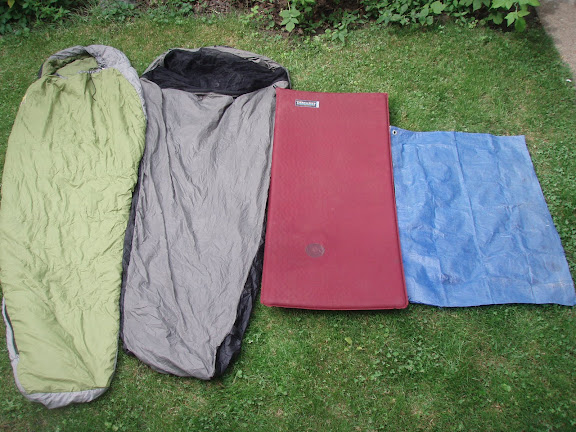
In bike touring and in real life, we spend about 1/3 of our time sleeping so doing so comfortably is extremely important. When it’s dark and cold and you’ve a few more hours to ride it’s surprisingly helpful to know that you’ve a warm bag and soft pad to curl up with!
From left to right
Mountain Hardware 35 degree synthetic bag– This Spring bag weighs in at 2lb 4oz. Synthetic, has a hood, zips tight and is affordable.
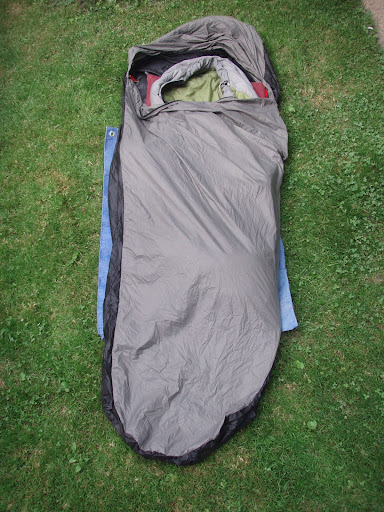
Titanium Goat Ptarmigan bivy sac– A bivy sac is like a glorified sleeping bag; it’ll protect you from the elements with as little material as possible. This super simple one weighs in at 7oz and is as minimal as it gets. It won’t protect you from a rain storm, but helps with wind and light rain. I have the bug net hood option which makes it more breathable. My ‘normal’ bivy is an Outdoor Research Alpine that is super heavy-duty, but weighs 2 pounds.
Thermarest 3/4 sleeping pad- A pad is not only a soft surface to sleep on, it keeps you off the ground and much, much warmer. I made the mistake of not knowing this on my first big bike trip! This one is 8 years old and has been patched once. They make lighter, better ones now!
Tarp- keeps your stuff off the ground and helps it to last a bit longer. Worth its weight! This one is 11 yrs old, from my first bike trip, which I have cut down from tent size to bivy size.
Cooking System
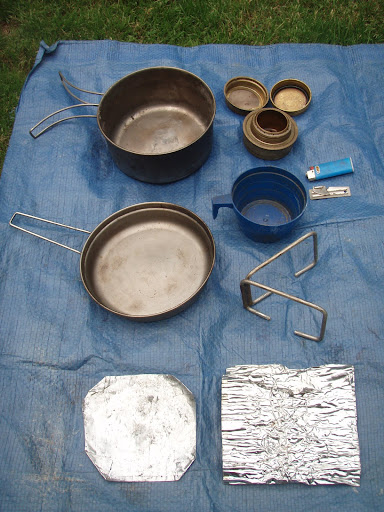
Trangia West Wind stove– $30! Weighs about 3oz without the ‘windscreen’ which is really just a holder and not much of a screen. Runs on alcohol, which is cheap and easy to find. You just pour in and light! Unlike the DIY stoves you can store leftover fuel right in the stove. I carried additional fuel in a old 20-ounce soda bottle.
Wind screen from my MSR Dragonfly stove, cut down.
Snow Peak titanium spork– I carry this everywhere
Measuring cup- for coffee and when I had to separate foods
DIY pot holder- folded pieces of aluminum
lighter, waterproof matches, aluminum piece to put stove on, can opener

Gear
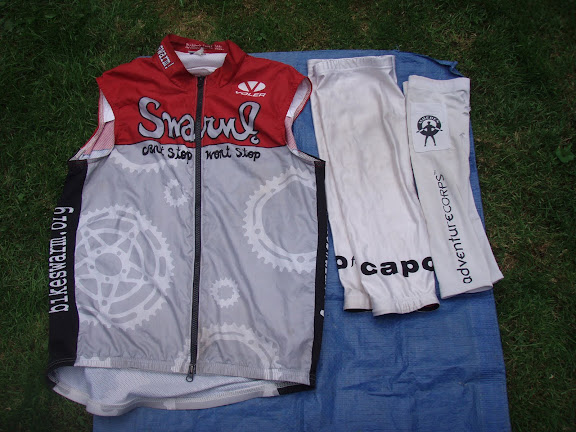
I rode in my Swarm! kit and had sleeves, knee warmers and a vest for cold weather.
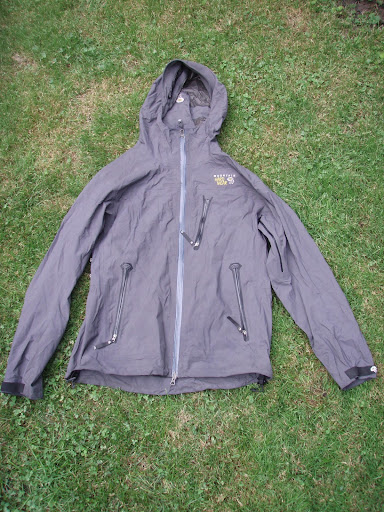
Mountain Hardware goretex rain jacket. I prefer the non-cycling rain jackets as long as they have armpit zips. Also works as a regular, warm jacket! A good rain jacket is worth the initial expense and not a place to skimp. I’ve gone through enough cheap crappy ones that this investment is worth it. I didn’t bring rain pants. I figured if I’m riding and it’s raining I’ll stay warm enough.
Change of clothes for chillin in small towns. I bring a button-up shirt to make up for the poor hygiene. Patagonia zip-off pants and light weight minimal running shoes. Outside of my riding gear, rain jacket and one extra pair of socks this was my only clothing for 15 days.

Bag System
Rack-less bags are all the rage. Without racks you have fewer things to fail and much less weight. My original Jandd rack weighs more than all of these bags together! Jill Homer wrote a great article about the benefits of a rack-less system (warning: PDF!) and the Adventure Cycling Association has started to carry these bags in their online store.

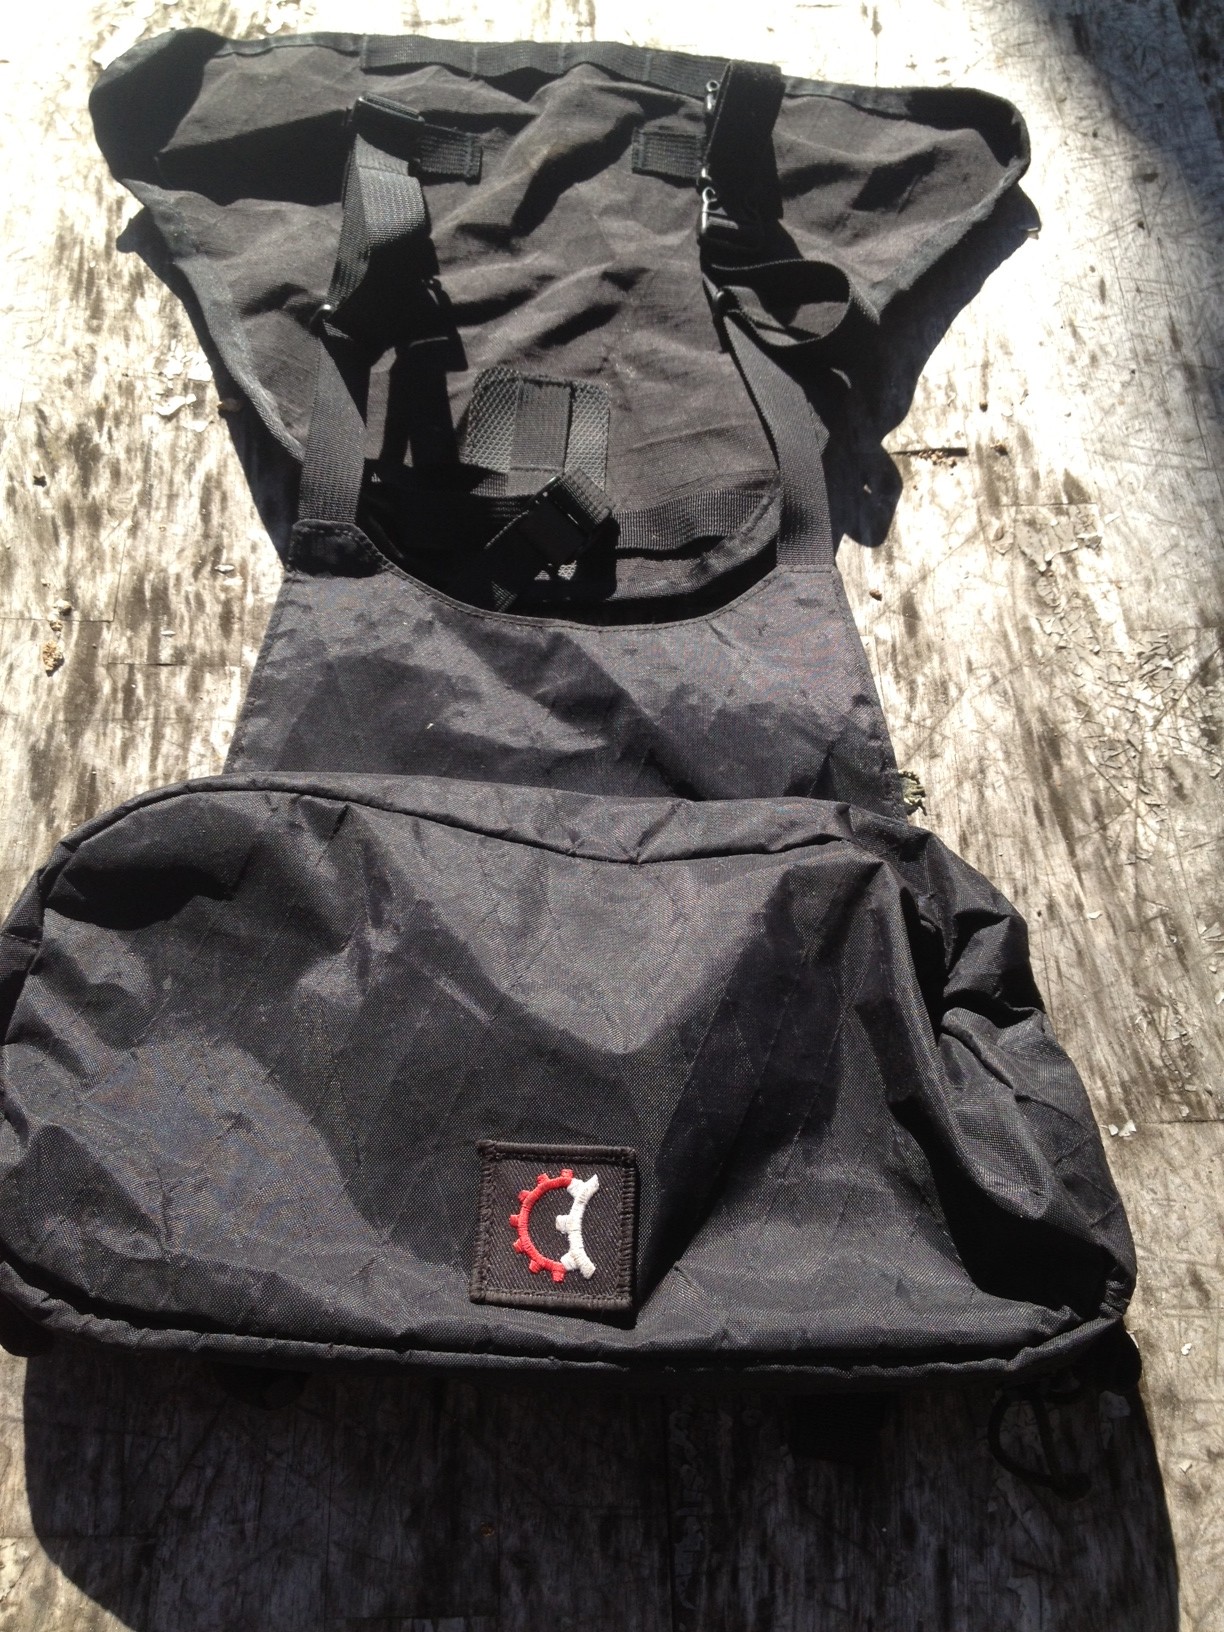
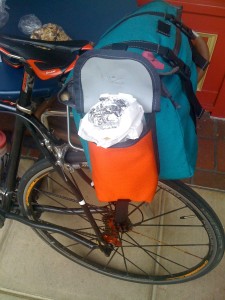
Two very small companies are leading the way in the progression to rack-less bags, Revelate and Carousel Design Works. The seat bag below is from Carousel Designs and the handlebar bag (along with the pocket and dry bag) are from Revelate. Both are brilliantly designed and built to last. Though, as much as I hate to diss small companies, I have to say I had a very, very hard time getting either of these bags. Weeks to return emails, promised deadlines not reached, unanswered calls…super frustrating. If you are going to order from either of them make sure you have an unlimited amount of patience and time before you need your gear. Maybe they are improving, but from the sound of things on the Bike Packing forums they are not (maybe time to check out the DIY bag forum?). My other two bags, the ones attached to the top tube were one-offs made by my good friend Chris. The top one was used to store snacks and the one that sits in the triangle stores tools, fuel, lights, etc. My friend Errin Vasquez has been making his own bags too.
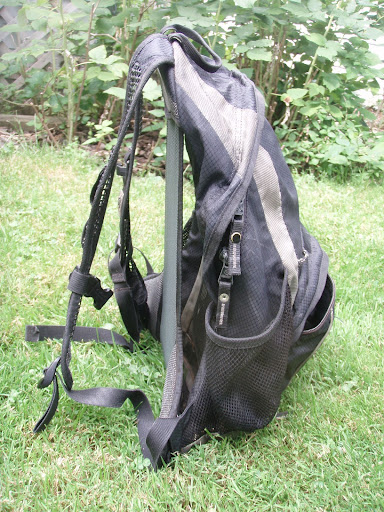
From years and years of carrying a messenger bag, I don’t mind wearing a bag on my back. They key is to carry bulky- but light- items in it, like your sleeping pad and shoes. I like this Deuter Bag because it has a light internal frame and space which keeps it off your back- and therefore less sweaty. I rarely carried water in it, but it was nice for those few 100 degree days I had. I’d link to it but mine is super old and it looks much different now…
Other- tools, med kit, hygiene, lights
I carry the same stuff as I do on a day ride: multi-tool, pump, tire levers, patch kit; and for touring I include a few ‘just in case’ bits like a tire patch, spare chain links and a few spare bolts. You medical kit and hygiene needs are more individual and items that are figured out as you go on more and longer trips. Mine are pretty basic- I do cut my toothbrush and brush my teeth with Dr. Bronner’s, which also doubles as a cleaning agent when your pot needs it.
For lights I used my commuter blinkies and the Princeton EOS bike light which can be mounted on your helmet or handlebar and be used as a headlamp.
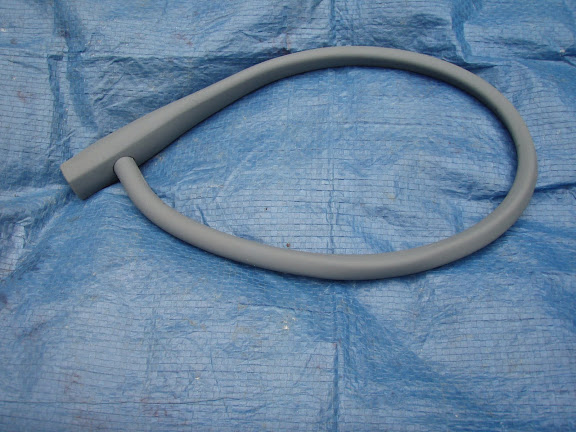
New on this trip, I carried a lock. It’s not much, but this lightweight Knog lock could be the difference between someone riding off with your bike or not.
Handlebar bag and pocket, recently filled with vegan chocolates.
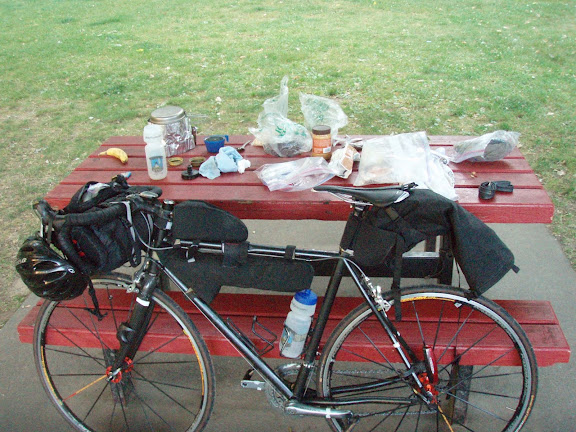
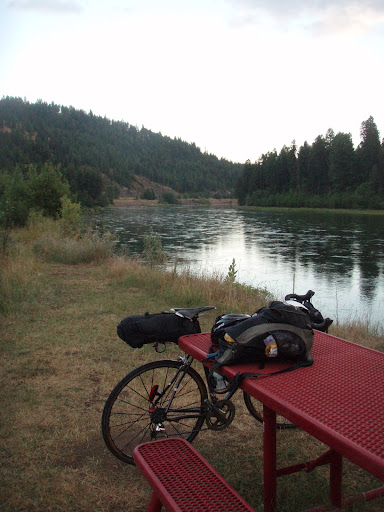
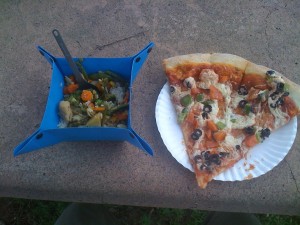
Breakfast time. Often I’d sleep one place and then roll to somewhere with a table to make breakfast. I usually only carried one day of food at a time. If you are traveling lighter you can go faster and get to stores more often.
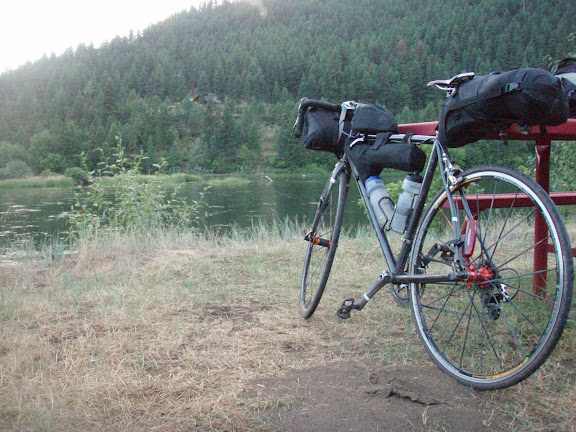
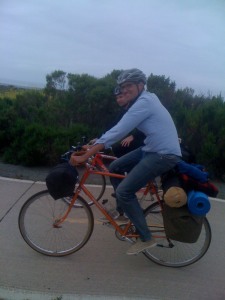
Another view of my fully-loaded bike.
Bike
My bike is a custom steel frame from Seven with close to 50,000 miles on it. I’ve a mix of Dura Ace and Ultegra along with Ksyrium SL wheels- weighs in at about 18 pounds. What if I broke a spoke? Well, that would have been bad. Faith in Vagueness!
I didn’t actually weigh everything, but my guess is that my gear comes in under 15 pounds. It’s traveling light, but still comfortable without spending an insane amount of money. You could easily go lighter, if that’s your goal. But for me this trip was about having fun and traveling light in order for it to be easier. When you go too light it starts to get hard again. And to me bike touring is all about fun!
I hope this list is helpful and if you are thinking about a bike trip in 2012, you should do it! Nothing beats bike touring.

